Lenovo Thinkpad T430 Upgrades
Another modding project for 2022.
I picked up a Thinkpad listed as not working on eBay, the seller said it ‘seems to boot’ which was enough hope for me. The listing photos didn’t give me much indication as to the physical condition of the laptop. This was one of the photos:

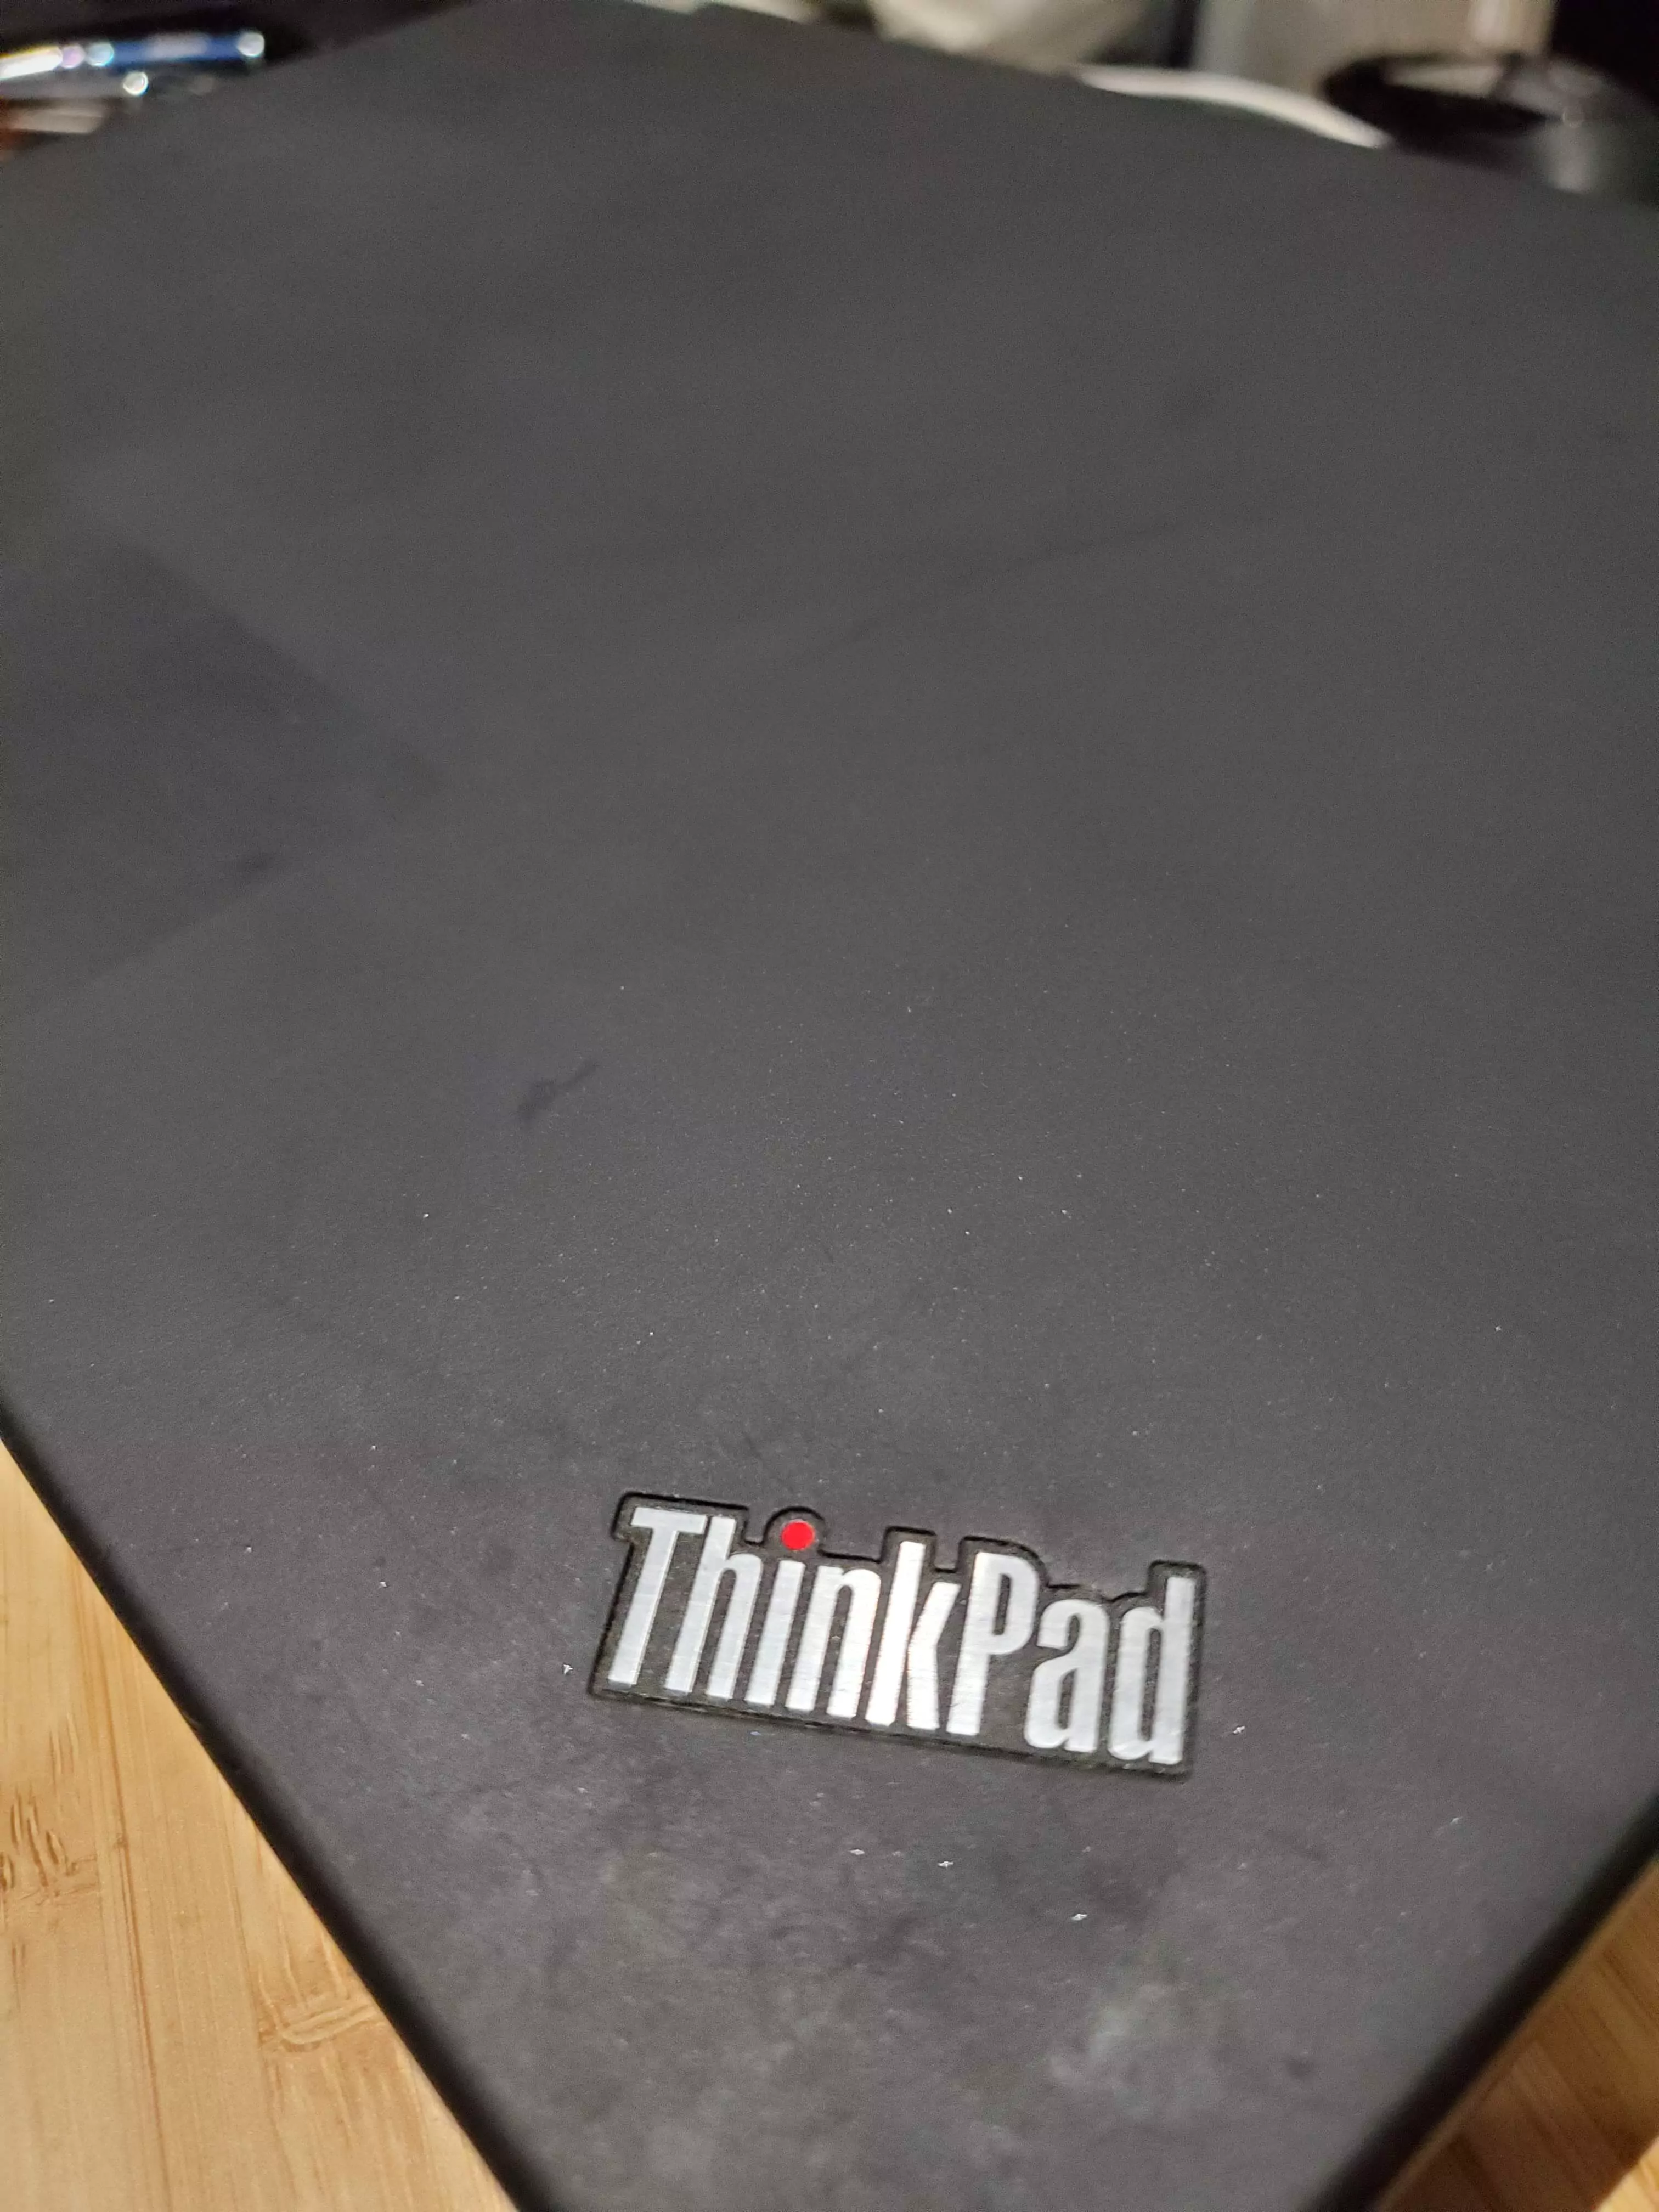
I was pleasantly surprised to see the top shell was in really good condition:
The screen on the other hand:
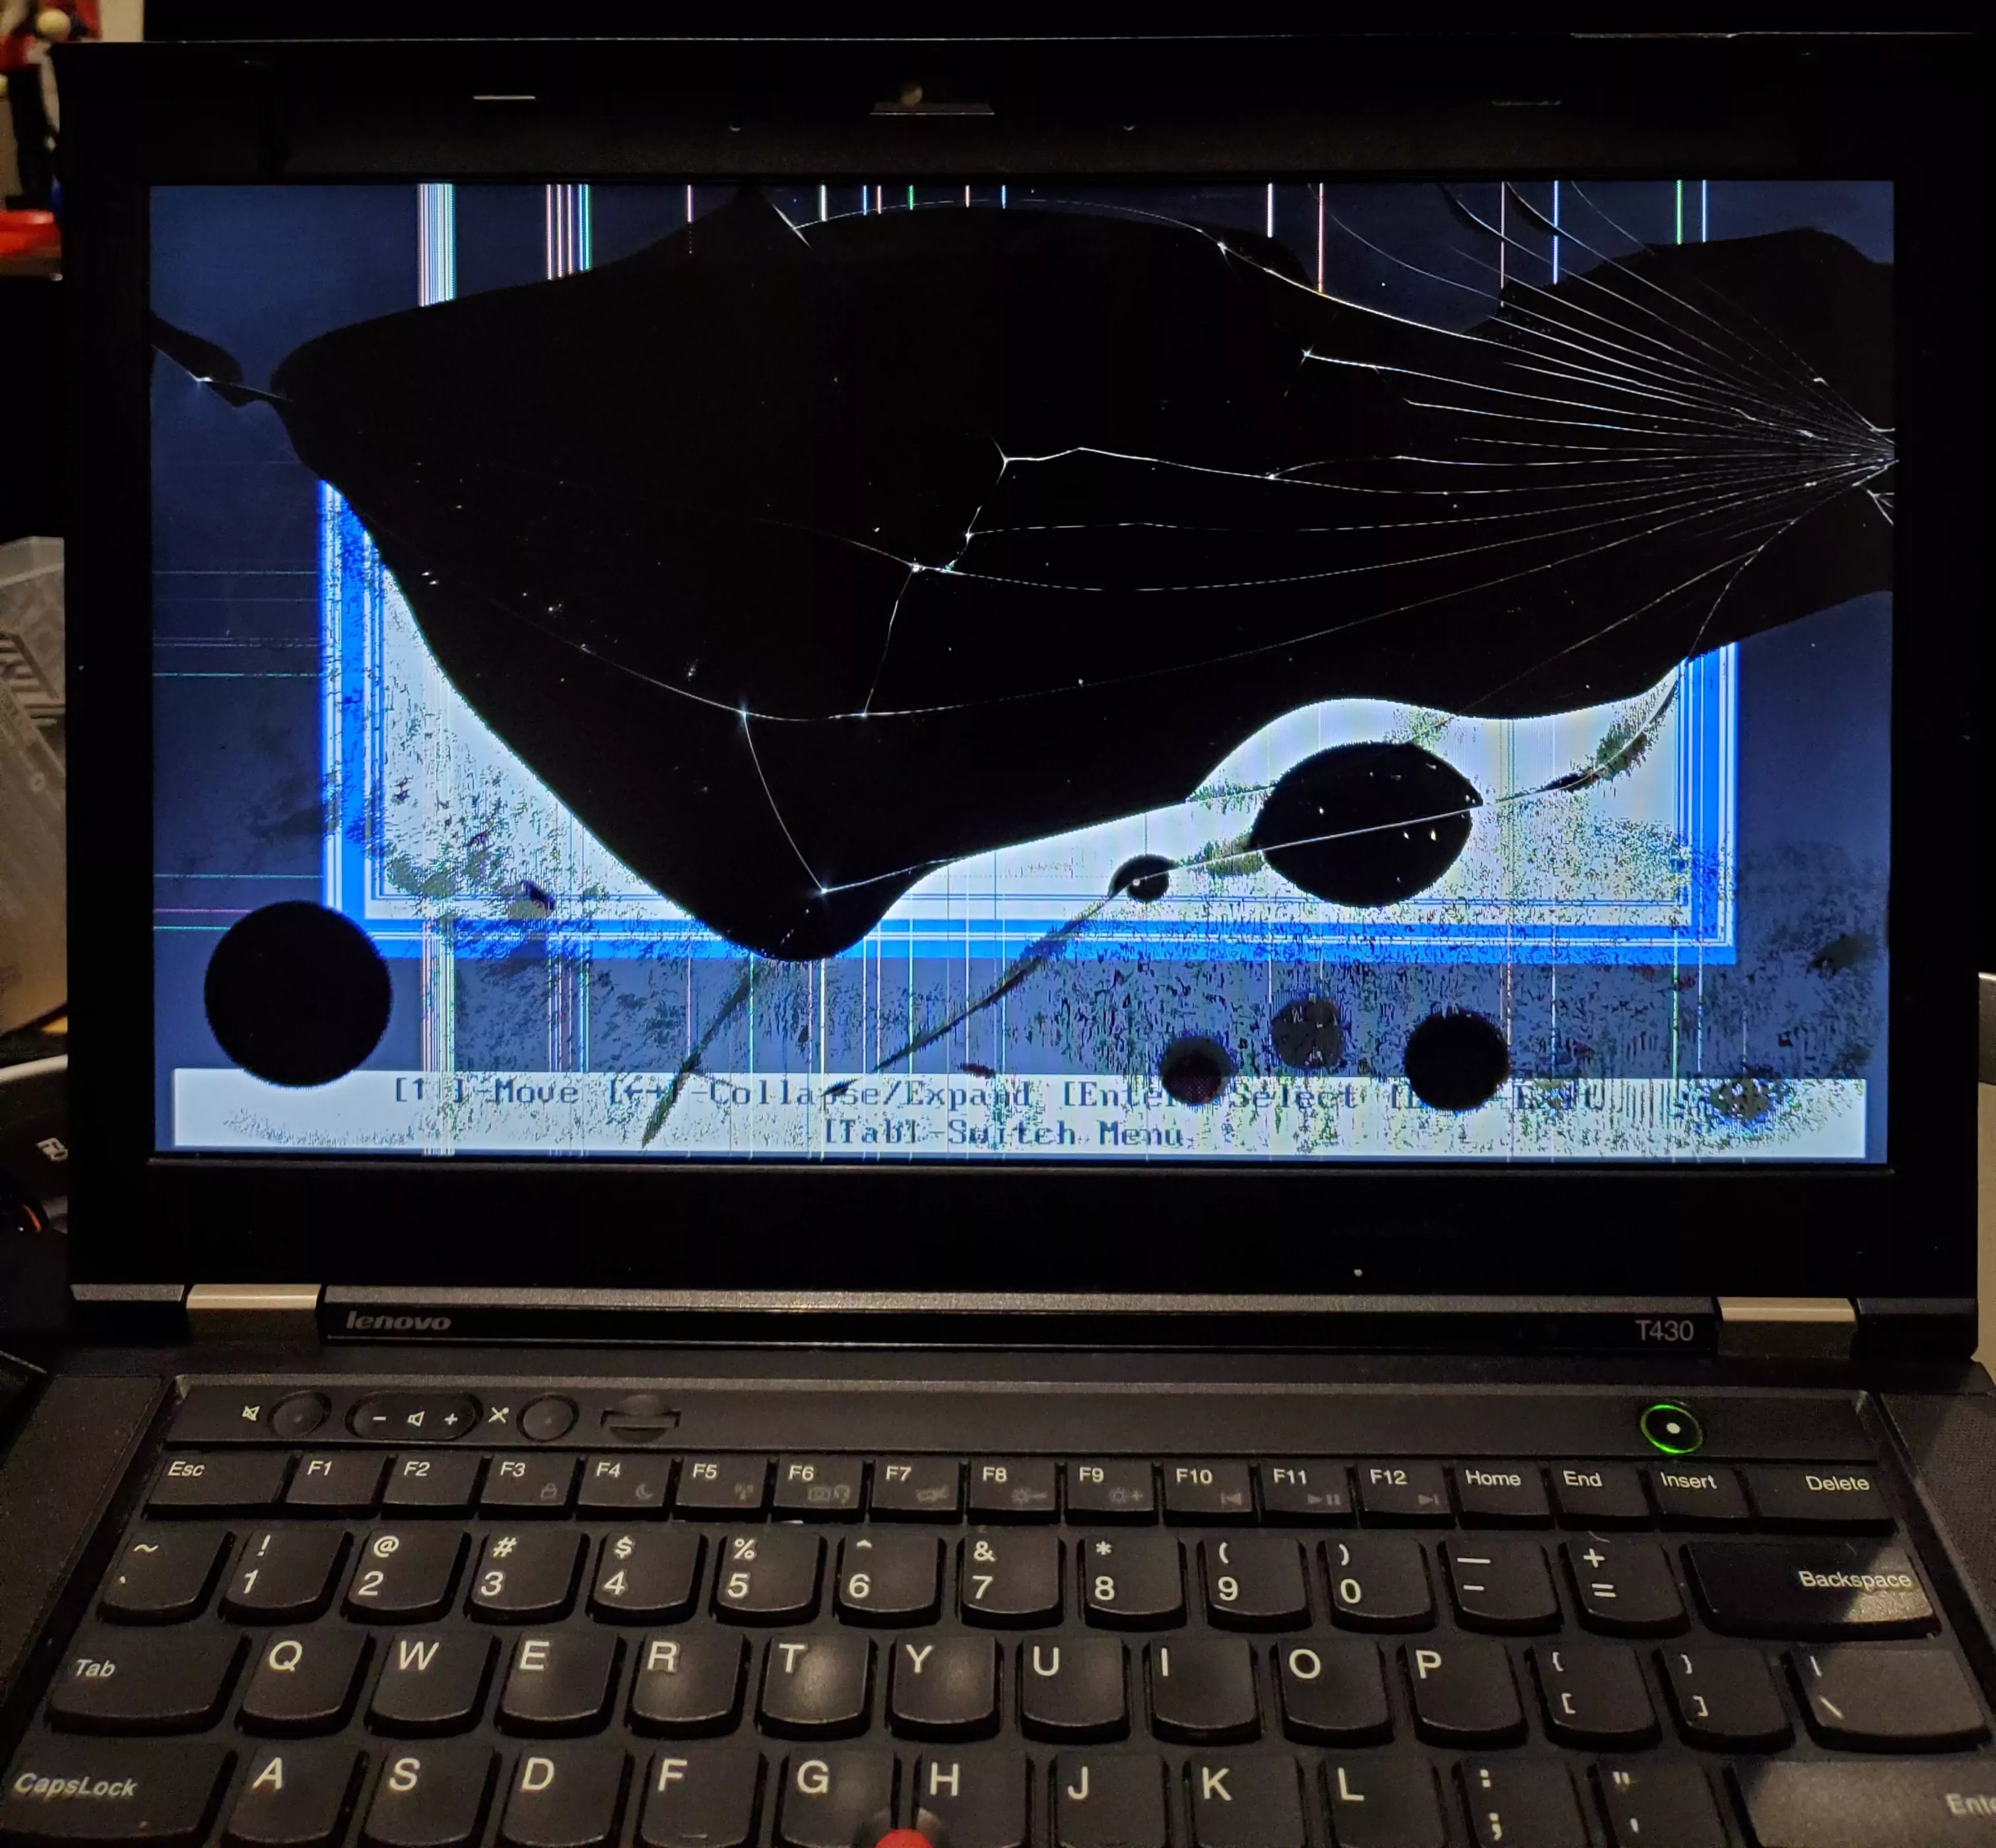
I originally planned to do some modding to this laptop, but with the screen as shattered as that it became a requirement.
Onto some of the upgrades I’ve done:
BIOS
There are two popular BIOS upgrades for the T430:
Thinkpad EC let’s you use a classic style keyboard on the T430, and disable the authentic battery check (which I need because the laptop came with a batter which failed that check).
1vyrain adds a few features:
- Overclocking
- Removing the WLAN/WWAN whitelist
- Other advanced features
The WLAN/WWAN whitelist is the main one I’m interested in.
Installation
Install thinkpad-ec before 1vyrain.
Both thinkpad-ec and 1vyrain have minimum versions of the BIOS with weak enough allow them to be flashed. 1vyrain requires a lower BIOS (2.64) than thinkpad-ec (2.81), so remember to downgrade beforehand (learnt this the hard way, I was on 2.78).
The documentation for both thinkpad-ec and 1vyrain cover the installation well here’s what I did on Manjaro Linux.
Preparation
Following gch1p’s guide.
- Download an old T430 BIOS from Lenovo. (I picked 2.58, g1uj26us.iso)
- Download ksergy’s geteltorito and make executable
wget https://raw.githubusercontent.com/ksergey/thinkpad/master/geteltorito.pl
chmod +x geteltorito.pl
- Extract and mount an El Torito image:
geteltorito -o bios.img g1uj26us.iso
sudo mount -t vfat ./bios.img /mnt -o loop,offset=16384
- Within
/mnt/FLASHthere’s a directory namedG1ET98WWor something similar, take note of this name. - Within the
G1ET98WWdirectory there’s a file ending in.FL1take note of this ($01D2000.FL1). - Open
AUTOEXEC.BATin a text editor you should see the following:
@ECHO OFF
PROMPT $p$g
cd c:\flash
command.com
Replace command.com with dosflash.exe /sd /file G1ET98WW\$01D2000.FL1, taking note of the G1ET98WW directory and the $01D2000.FL1 file. Also taking note of the backslash instead of the forward slash.
So it looks like the following:
@ECHO OFF
PROMPT $p$g
cd c:\flash
dosflash.exe /sd /file G1ET98WW\$01D2000.FL1
- Unmount the partition
sudo umount /mnt
- Plug in a blank USB drive to write to (note: you’ll lose all data on the USB drive)
- Determine which device it is with
lsblk -d -o NAME,SIZE,LABEL - Copy image to USB (replacing sdX with the USB you identified in step 7)
sudo dd if=bios.img of=/dev/sdX bs=4M status=progress conv=fsync
- Ensure your laptop is plugged in and the battery is charged, you really don’t want this to lose power midway through
- On the T430 press
F1to boot into BIOS settings, ensure you haveStartupset to eitherLegacyorBoth/Legacy, save changes and reboot - Press
F12to select boot device, follow on screen instructions - Boot back into BIOS settings
F1to confirm your BIOS has downgraded successfully
Thinkpad EC
- Clone the thinkpad-ec repository
git clone https://github.com/hamishcoleman/thinkpad-ec.git
- Install dependencies
sudo pacman -S wget git mtools openssl
- Go to the thinkpad-ec directory, enable battery patch, show the list of laptops, take note of your laptop
patched.t430.img
cd thinkpad-ec
make patch_enable_battery clean
make list_laptops
- Make your laptop
make patched.t430.img
- Plug in a blank USB drive to write to (note: you’ll lose all data on the USB drive)
- Determine which device it is with
lsblk -d -o NAME,SIZE,LABEL - Copy image to USB (replacing sdX with the USB you identified in step 5)
sudo dd if=patched.t430.img of=/dev/sdX bs=4M status=progress conv=fsync
- Ensure your laptop is plugged in and the battery is charged, you really don’t want this to lose power midway through
- Press
F12to select boot device, follow on screen instructions - You have EC patched your Thinkpad
1vyrain
- Download the liveboot image from 1vyrain
- Plug in a blank USB drive to write to (note: you’ll lose all data on the USB drive)
- Determine which device it is with
lsblk -d -o NAME,SIZE,LABEL - Copy image to USB (replacing sdX with the USB you identified in step 5)
sudo dd if=1vyrain.iso of=/dev/sdX bs=4M status=progress conv=fsync
- Ensure your laptop is plugged in and the battery is charged, you really don’t want this to lose power midway through
- Press
F12to select boot device, follow on screen instructions - You have EC 1vyrain installed on your Thinkpad
Hardware
This is in order of parts arriving.
RAM
I picked up 16GB of MemOz PC3L-14900 (DDR3L-1866) RAM from adorit-aus on eBay.
Installation is one part great one part not so great.
On the bottom of the case there’s a labelled section for ram. That’s where half of the ram goes, within the section there are labels for where to unscrew the keyboard, which is where the other half goes.
Removing the keyboard isn’t too bad, where the keyboard meets the palmrest, use an old credit card to push the keyboard toward the screen, it’ll pop off in no time. The ram is under a black flap at the centre of the machine.
Storage
Main Drive
Originally I was going install a SATA SSD, but I found out I need a caddy for that. The order on Aliexpress is still out for that.
In the mean time I found out the WWAN card slot supports mSATA SSDs, and that by chance the SSD I have tapped to my MacBook Pro happens to be mSATA based.
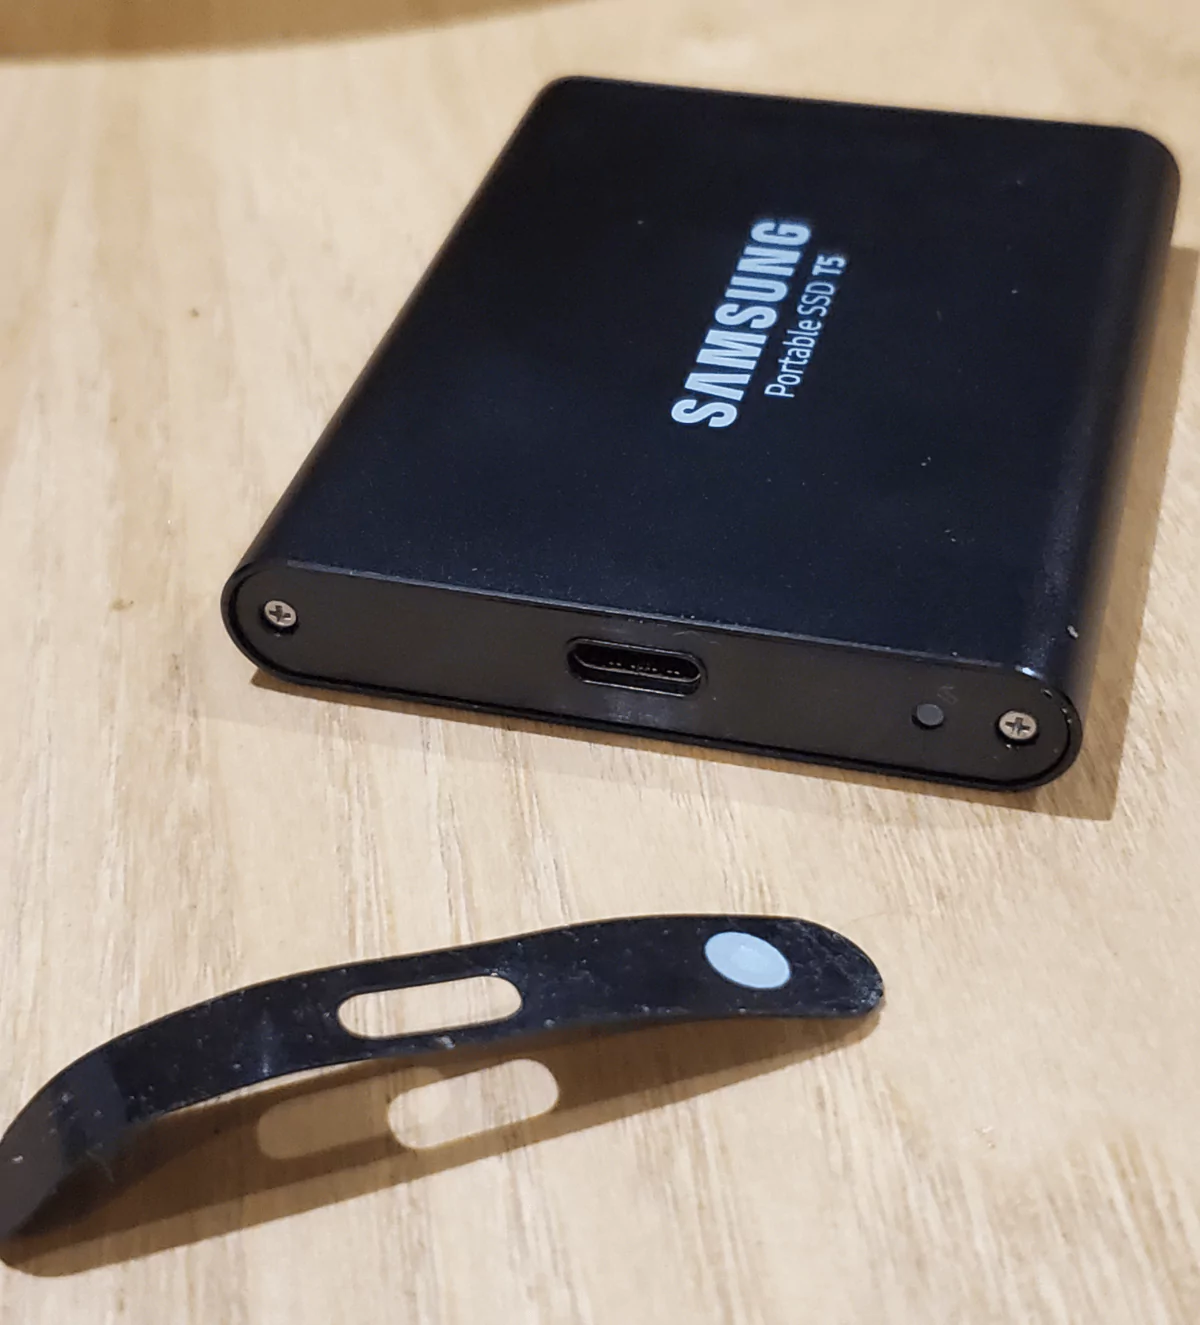
It’s the Samsung T5, 1TB SSD, I originally wanted to buy a new one for the T430, but it looks like there’s either a shortage or samsung is discontinuing this model. I ended up getting the T5 500GB as a replacement for my MacBook.
Installation
The faceplate by the USB C port on the T5 is a sticker, using a shim remove it to reveal the screws.
After unscrewing use the shim to pry forward the plastic. Revealing the SSD.
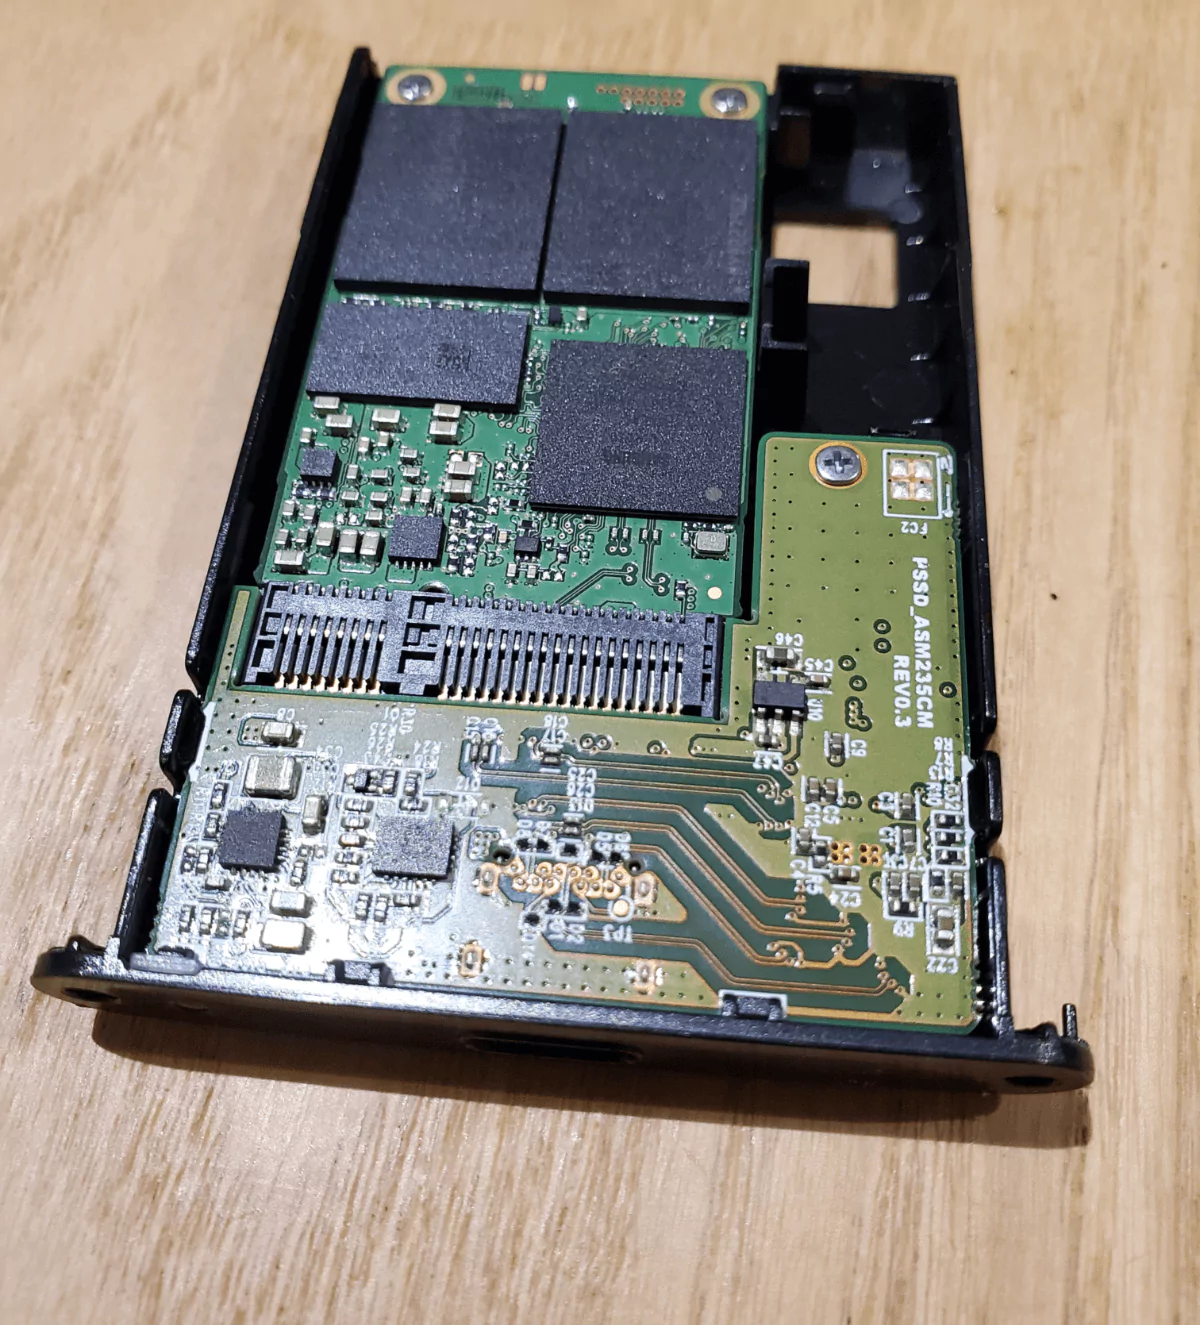
The photos I have are a bit out of date but the SSD is surrounded by foam, which can be reused while installing in the T430. I trimmed the pink side to make room for the screws, but in retrospect that probably wasn’t needed.
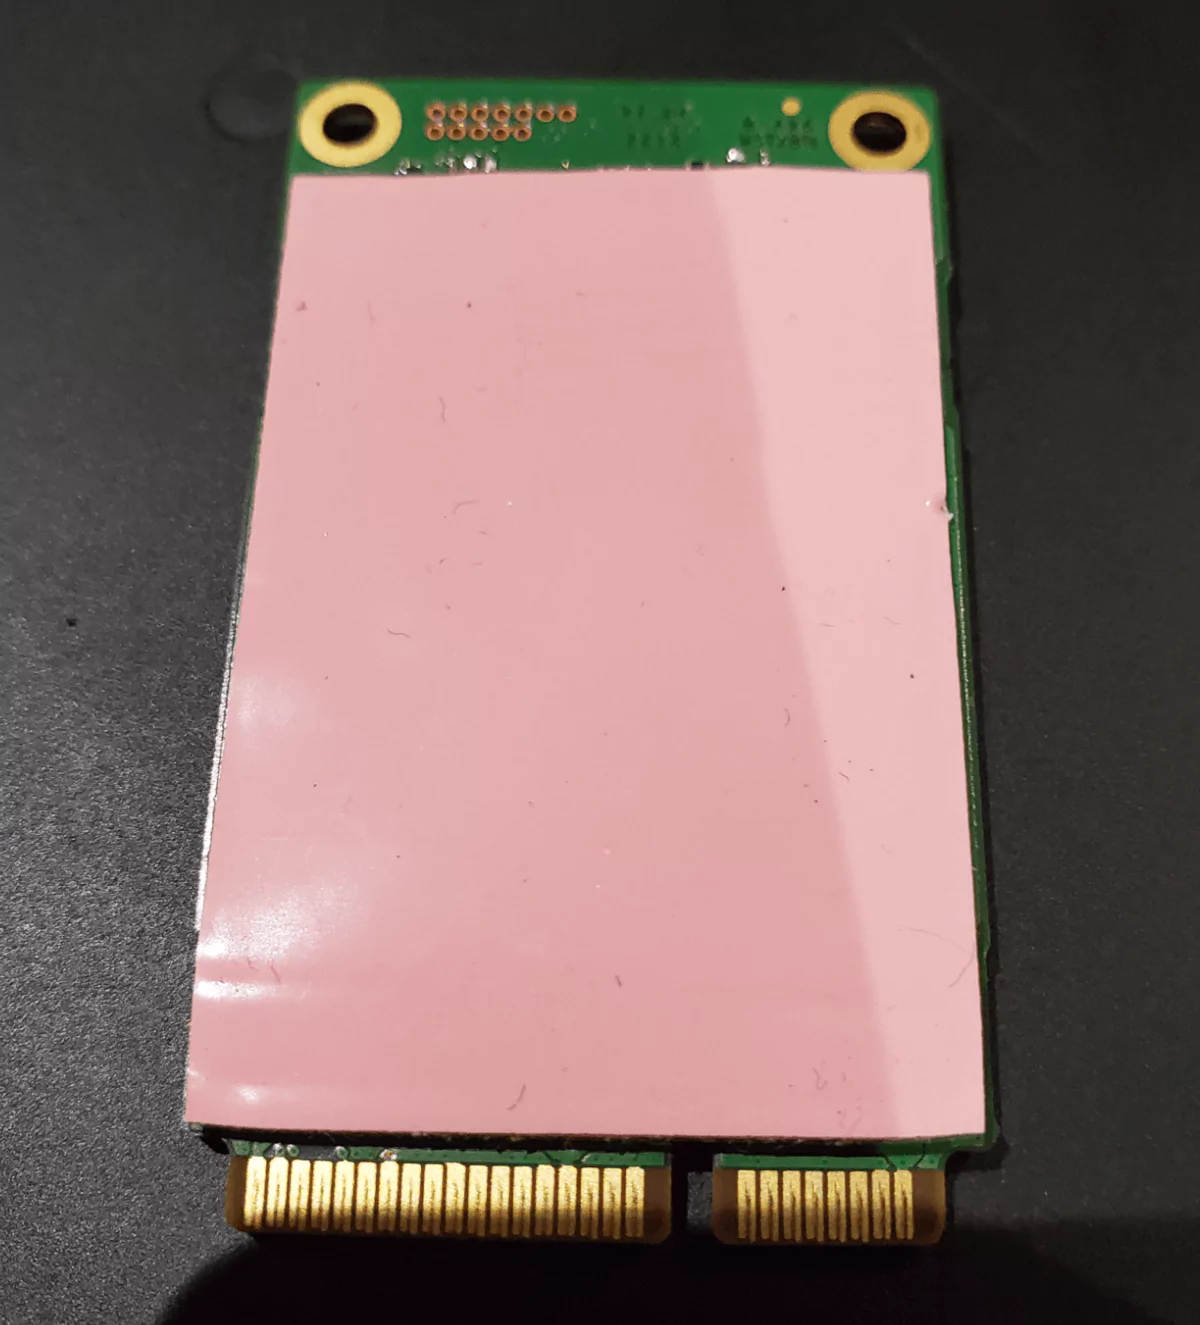
The SSD goes where the WWAN card did (mine didn’t include one), right next to the ram on the bottom case.
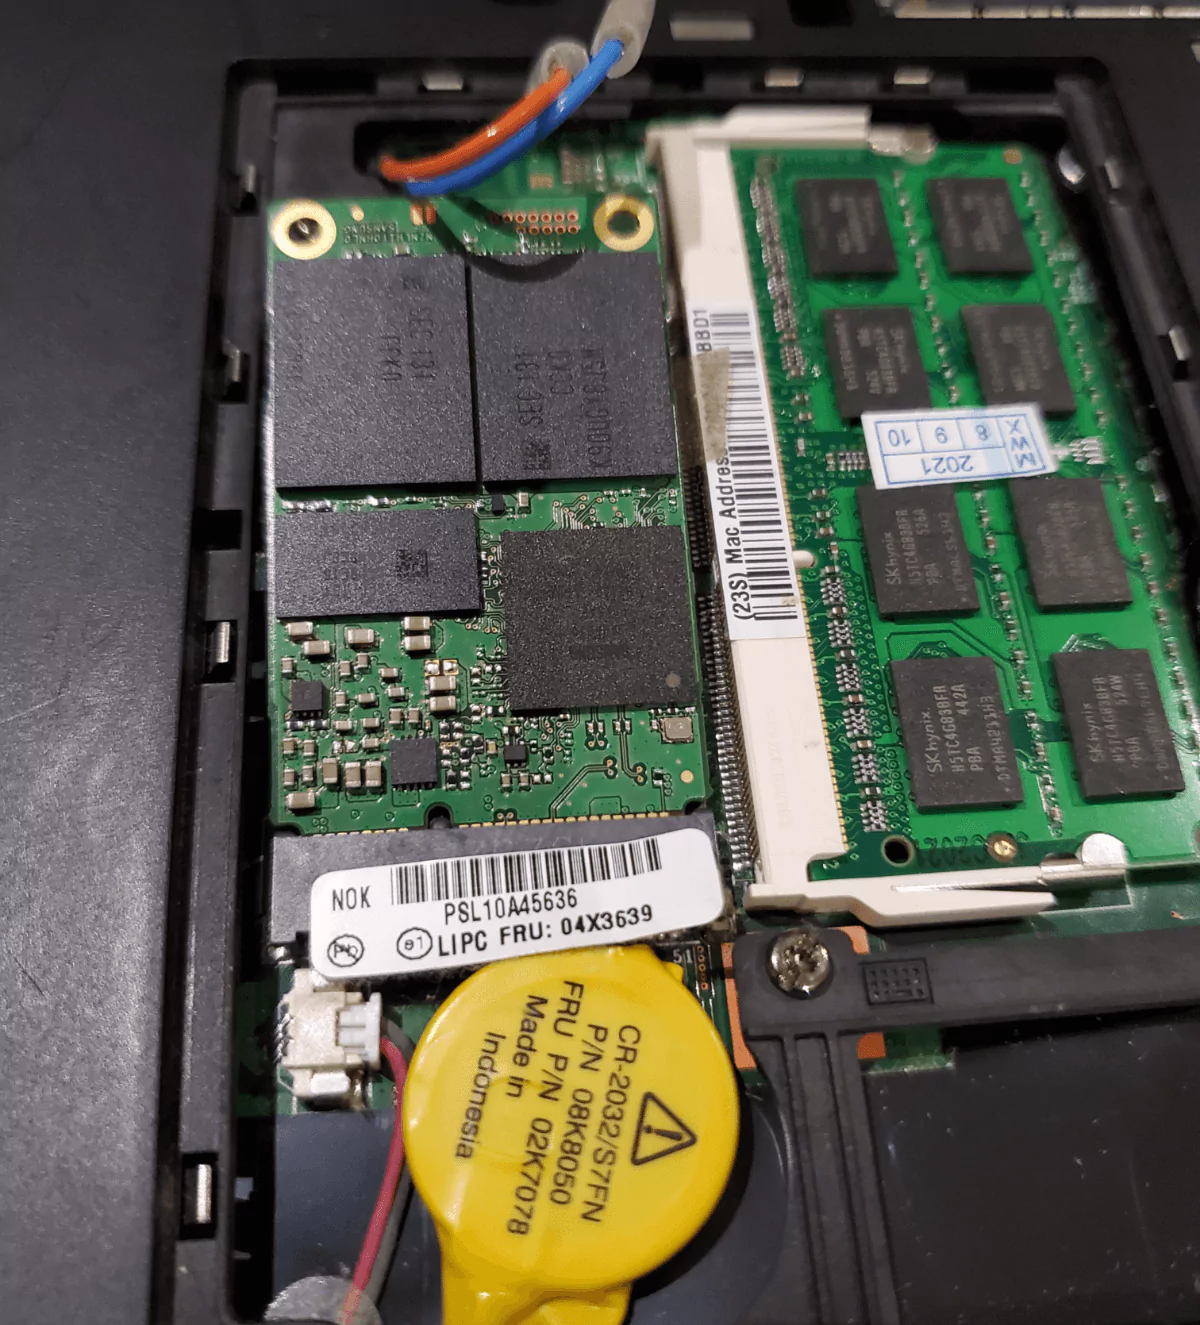
The screws which come with the Samsung are too narrow to screw it down, but a spare M2x4 screw I had laying around did the trick perfectly.
Boot into Manjaro, and:
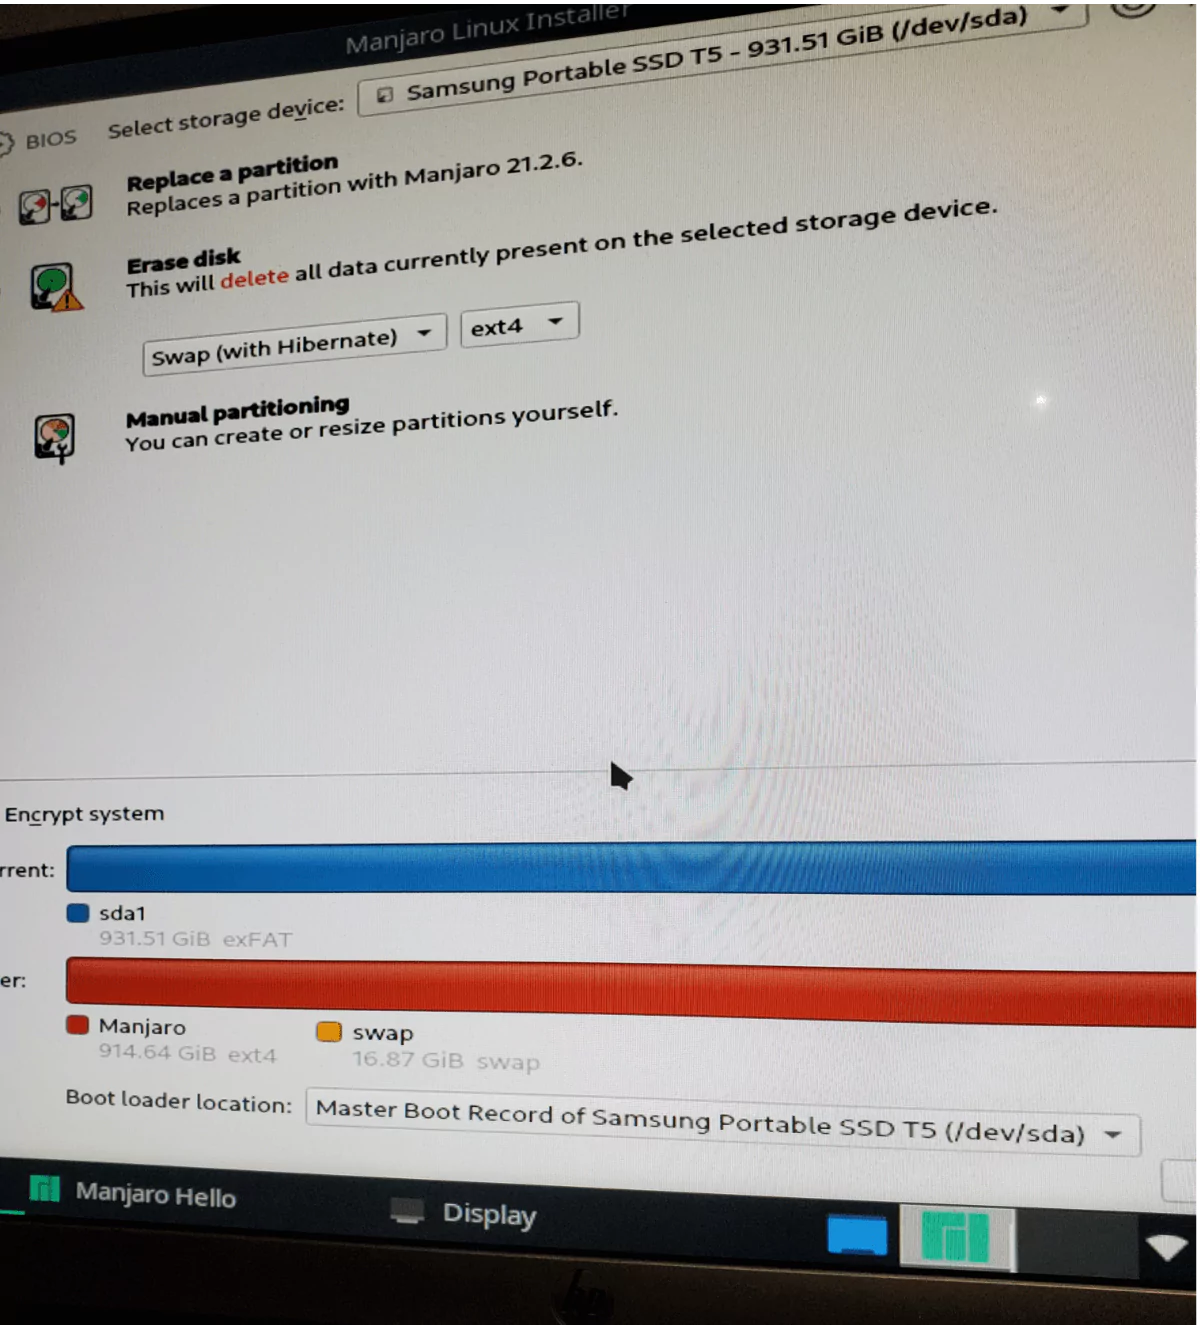
success!
Other Drives
Originally the drive I was going to use as my main drive was the 1TB Crucial MX500 SSD, to fit it, a HDD caddy was required.
I haven’t installed these (yet), but they may also be interesting:
Replacing the CD drive with a SATA caddy, and Thinkmods’ ExpressCard to NVMe Adapter.
WiFi
After removing WLAN restrictions, one of the first upgrades I did was the MPE-AX3000H which supports Wifi 6 and bluetooth 5.
The T430 has a separate bluetooth module, I guess if you connect to more than 7 devices at a time this could be useful if you wanted both.
Keyboard
The T430 can be modded to use a classic style keyboard, I followed this tutorial, and ordered this JIS keyboard.
Initially I tried to tape off the pins, but I found it very finicky, and took my chances with them shorting properly, which they did.
CPU
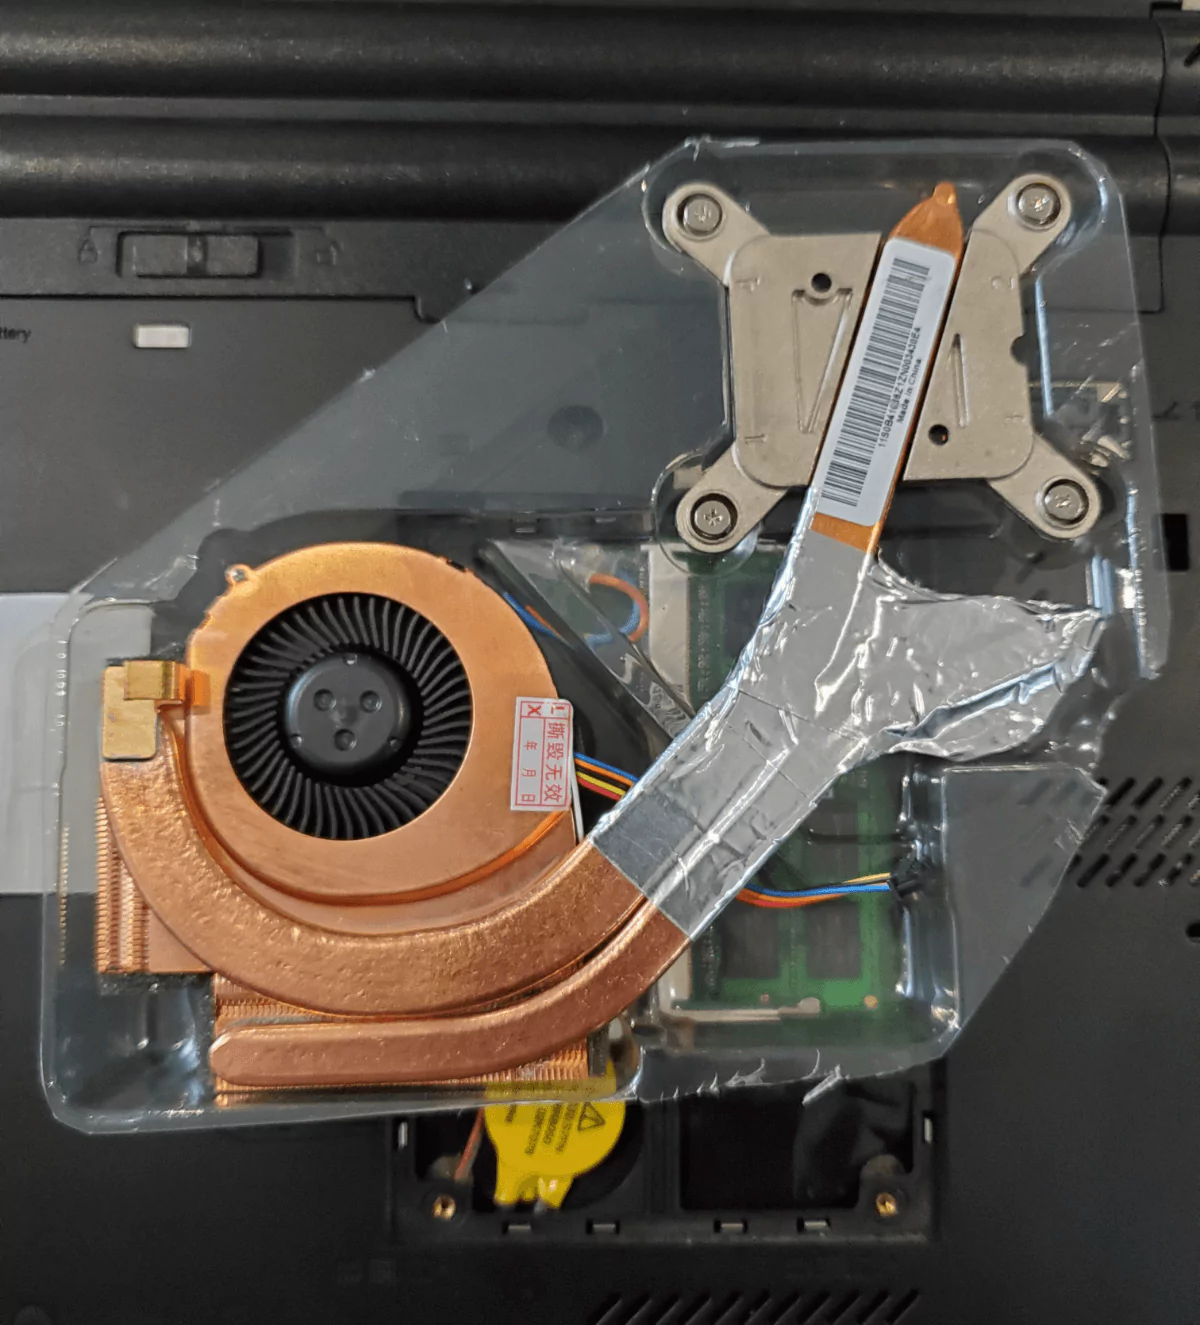
Speaking of taking chances I bought an Intel Core i7 3840QM on Aliexpress, and it seems to be the real deal. When upgrading to the 3840QM it’s a good idea to use a dedicated graphics cpu heatsink just for that extra efficiency. I used this one (FRU: 04W3269).
To help disperse heat, I wanted to wrap the GPU and CPU pipes in copper tape - I thought I had some left over from a guitar shielding mod, but I couldn’t find it. At my local hardware store, they only had very narrow copper tape, so I took my chances with aluminium tape instead.
Display
To use a 1080p display, you need a controller. The other part you need is a display, I went with the AU Optronics B140HAN01 from filipelee on ebay, who removed it from an old laptop.
The display ended up taking quite a while to arrive, but it was worth it. It’s a really nice screen. For a laptop this size I think 1080p is perfect.
I was about to say I was fortunate enough to to not have the flickering issue, but just as I was starting the installation section it started. And now that I’m writing this and I want to record it, it’s stopped.
Convenient.
It isn’t that bad but as of writing this I’m still enjoying the high of having this laptop work.
Installation
I was pretty excited to get this installed so I don’t have any photos to accompany this section.
Installation is pretty straight forward take the keyboard out, unplug the display cable, unscrew the hinge, thread the cable in, etc ,etc.
The fun part is getting the laptop back together, I found the best place to put the controller was by the ram where there’s a little bit of working room.
When putting the keyboard back in i didn’t pay attention to how flush everything was, it ended up looking really warped. But another attempt got it back to normal.
Misc
I was hoping I could escape dongle life with this laptop. but it doesn’t have an HDMI port (perhaps a mod for the future), a generic mini display port to hdmi adaptor has been a lifesaver, especially while my screen was broken.
The touchpad was pretty worn out, this replacement on aliexpress works well, but isn’t an exact copy of the original.
Optical drive locks are really hard to find, and I thought I found one, however the seller has cancelled my order and refunded me. Oh well.
My screen bezel was missing some of its feet, this was a good replacement.
The laptops TrackPoint was fairly worn out, but I kinda forgot that replacing the keyboard would include a new one. In any case I now have spares.